How To Create Torn Paper In Photoshop
This post was originally published in 2007
The tips and techniques explained may be outdated.
Torn paper is one of the key elements to achieving the distressed / collage look. This tutorial covers a few simple steps in Adobe Photoshop to create a realistic looking torn paper effect taking you on your way to Destroying the Web 2.0 Look!
Unlimited Downloads of 2,000,000+ Textures, Fonts, Graphics & Design Templates Ad
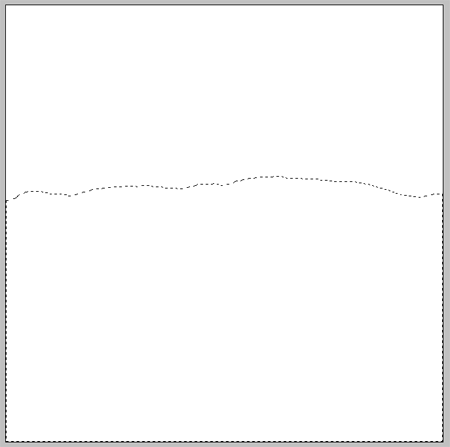
Start with your blank document in Adobe Photoshop, use the Lasso Tool freehand to create the outline of the torn edge and continue the selection across the lower half of the document.
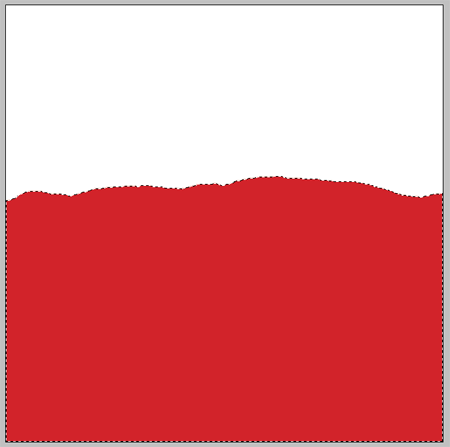
Select an appropriate colour for your paper and fill the selection on a new layer.
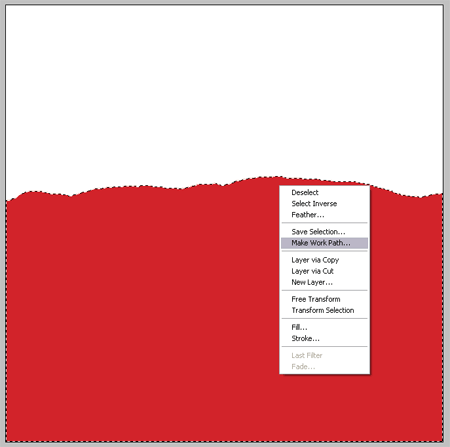
With the Lasso Tool still selected, Right Click (CMD-Click) on the mask and select Make Work Path from the menu. Change the tolerance to 1px to keep the path close to the original mask.
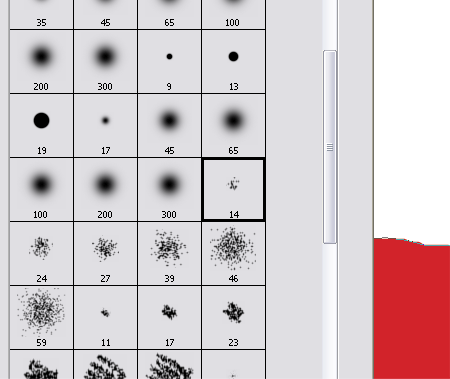
Select a brush shown above from the Brush Tool Menu, depending on the size of your document you may require a larger/smaller brush.
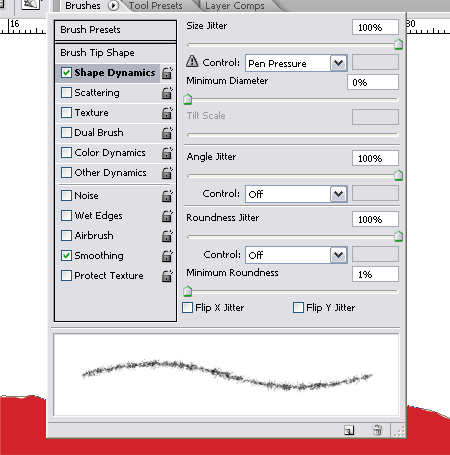
Head over to the Brush Options window, change the Shape Dynamics settings as show to create a fibrous stroke. For more information on the Brush Options window take a look at my previous Photoshop Brush Tip.

Back with the Pen Tool or Path Selection Tool Right Click (CMD-Click) the path and select Stroke Path from the menu. Ensure the Tool is selected as Brush from the drop down and Simulate Pressure is off. Repeat this again if necessary to produce a realistic amount of stray fibres from the edge of the paper.
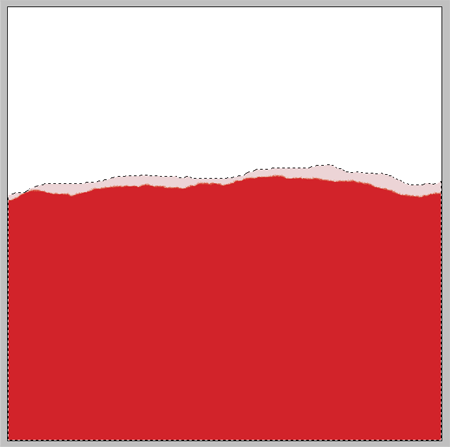
Paper is often made up of several layers which can become exposed when torn, to make the torn paper effect realistic create a another freehand selection using the Lasso Tool.
Fill this selection in a much lighter tint than the first colour on a new layer.
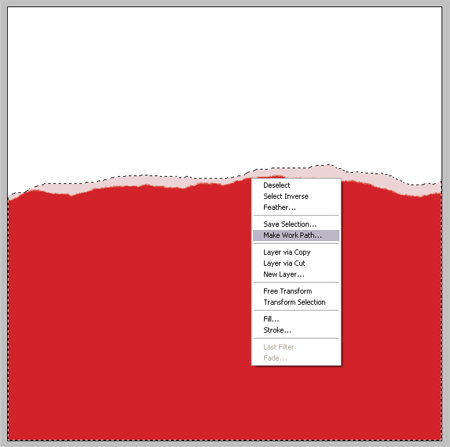
Make this the new Work Path by Right Clicking (CMD-Click) with the Lasso Tool.
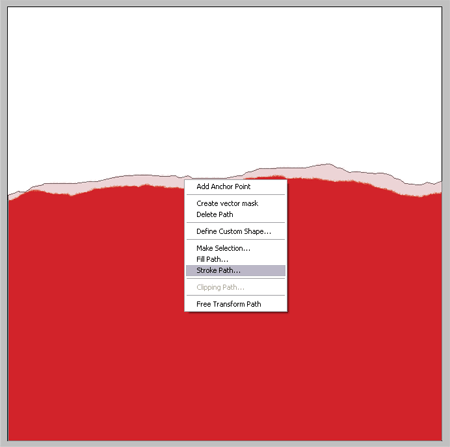
Your brush settings should still be in place and appropriate colour selected, go ahead and Stroke the Path using the Brush option to produce more fibrous particles.
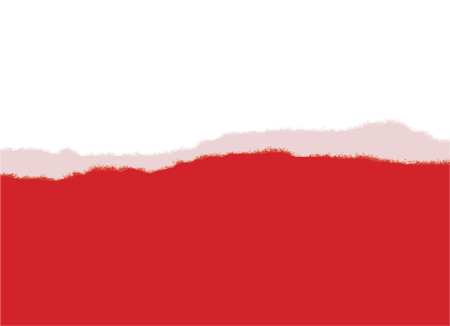
This produces the basics of the torn paper, but paper is more than jus a block of flat colour. To make it more realistic we need subtle texture and creases.
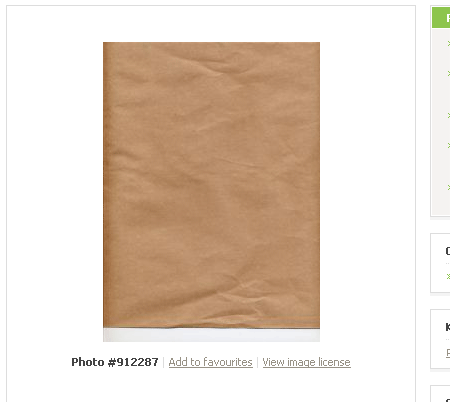
Download a Paper Texture from a stock photography website, the one I have found is free from Stock XChange.
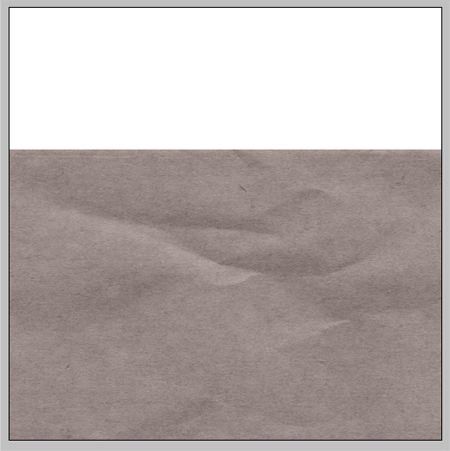
Paste the texture into you document and desaturate (Image > Adjustments > Desaturate) to remove the brown colouring.
Change the blending mode to Multiply to render the light areas of the image transparent.
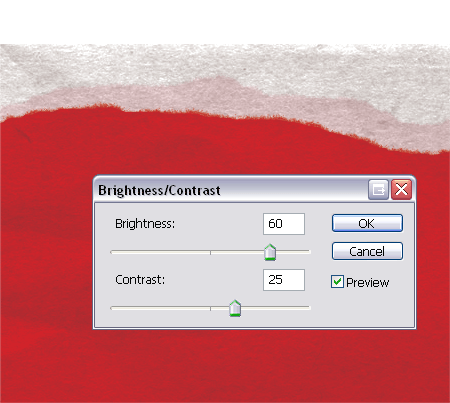
The texture is way too overpowering so adjust the Brightness and Contrast (Image > Adjustments > Brightness/Contrast) to tone down the effect.
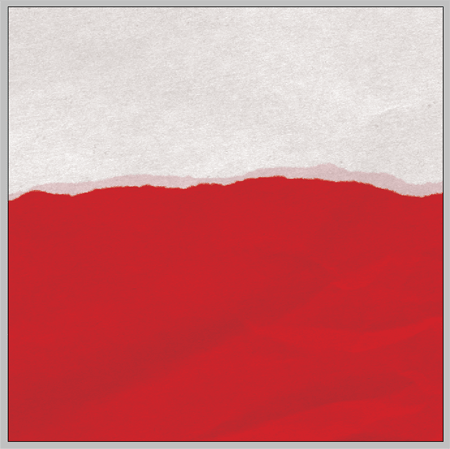
Move the layer around to find an interesting section with plenty of creases and texture.

Delete the unwanted areas from the texture by selecting your lighter coloured paper layer, go to Select > Load Selection.
Inverse the selection (CTRL/CMD + Shift + I) and delete the selection from the texture layer.
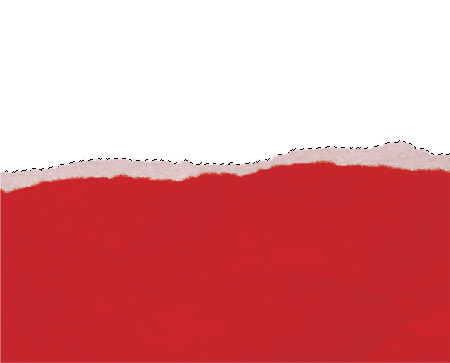
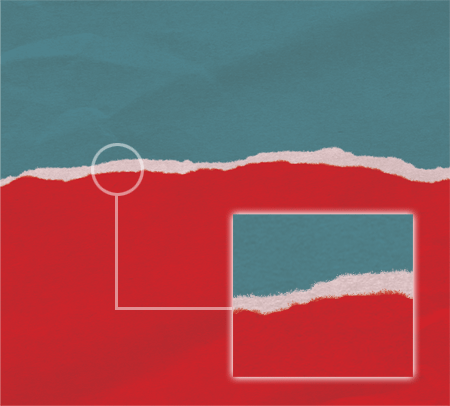
Merge your layers and add the new paper texture to your designs, notice the tiny fibrous edges and subtle texture up close which together give effect a realistic paper look.

How To Create Torn Paper In Photoshop
Source: https://blog.spoongraphics.co.uk/tutorials/create-a-realistic-torn-paper-effect-in-photoshop
Posted by: ozunaparch2000.blogspot.com

0 Response to "How To Create Torn Paper In Photoshop"
Post a Comment